Tilt to straight <TiltShot />
Title and 2–3 points on the left, a screenshot entering at a perspective angle on the right. With build: 'reveal', the first press straightens the screenshot, and each press after that reveals one point. When jumping to the slide, the straightened screenshot and all points are shown directly.
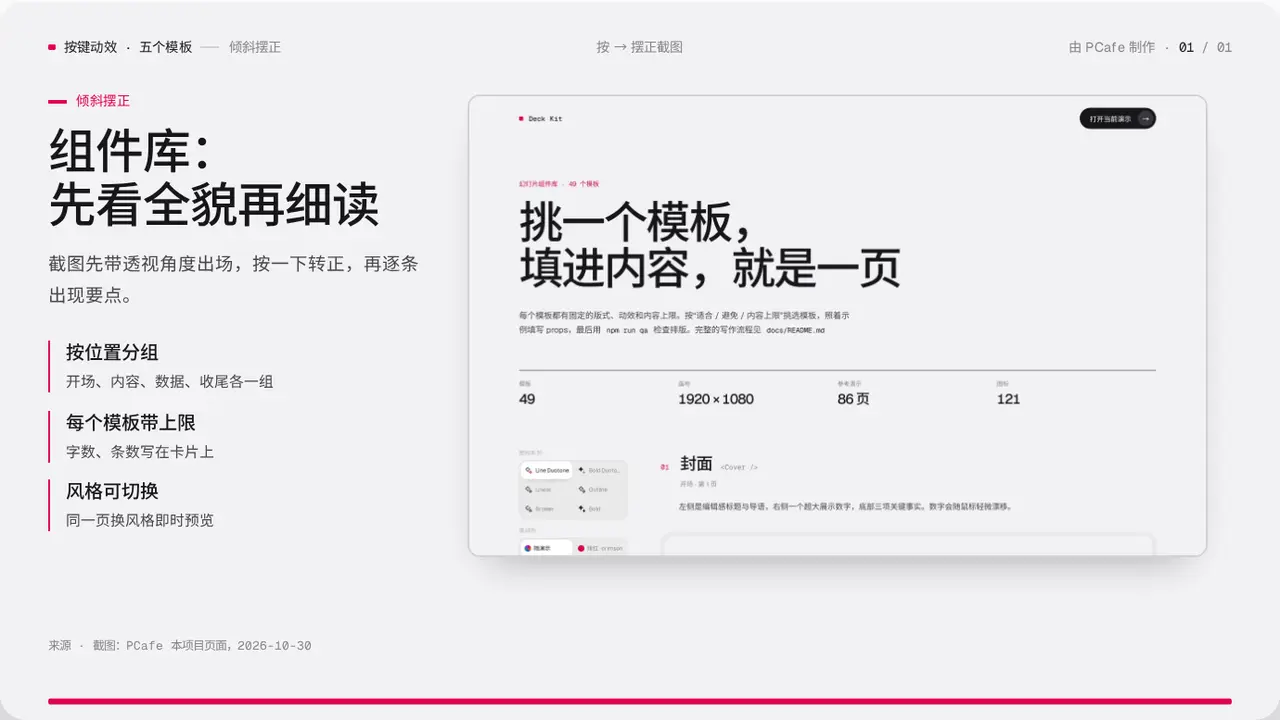
- Group
- Motion · a screenshot in perspective straightens, then the points are covered one by one
- Component
TiltShot·#tilt-shot- Interaction
- Press → straighten the screenshot, then reveal the points one by one
Good for
- Introducing the interface of software, a tool or a console
- Give the overall impression first, then cover 2–3 highlights
Avoid when
- You need to mark positions on the screenshot: use Screenshot
- There is no real screenshot
Content limits
| 1 | title ≤ 2 lines × 10 chars |
| 2 | lead ≤ 40 chars |
| 3 | points 2–3: title ≤ 10 chars, body ≤ 20 chars |
| 4 | src must be a real screenshot |
Fields
| Field | Type | |
|---|---|---|
kicker · required | string | Section label |
title · required | string | string[] | Title |
lead | string | Lead |
src · required | string | Screenshot |
alt · required | string | Screenshot description |
ratio | number | Width ÷ height, default 16/10 |
points · required | { title, body }[] | Points |
source | string | Source |
Example
<TiltShot
  kicker="倾斜摆正"
  title={['组件库:', '先看全貌再细读']}
  src={kit}
  alt="组件库页面截图"
  points={[{ title: '按位置分组', body: '…' }, { title: '每个模板带上限', body: '…' }]}
/>